Overview
The Knot Visual Editor provides an intuitive, no-code way to customize your store’s design. Simply click on any element in the preview window and make changes instantly - no coding required!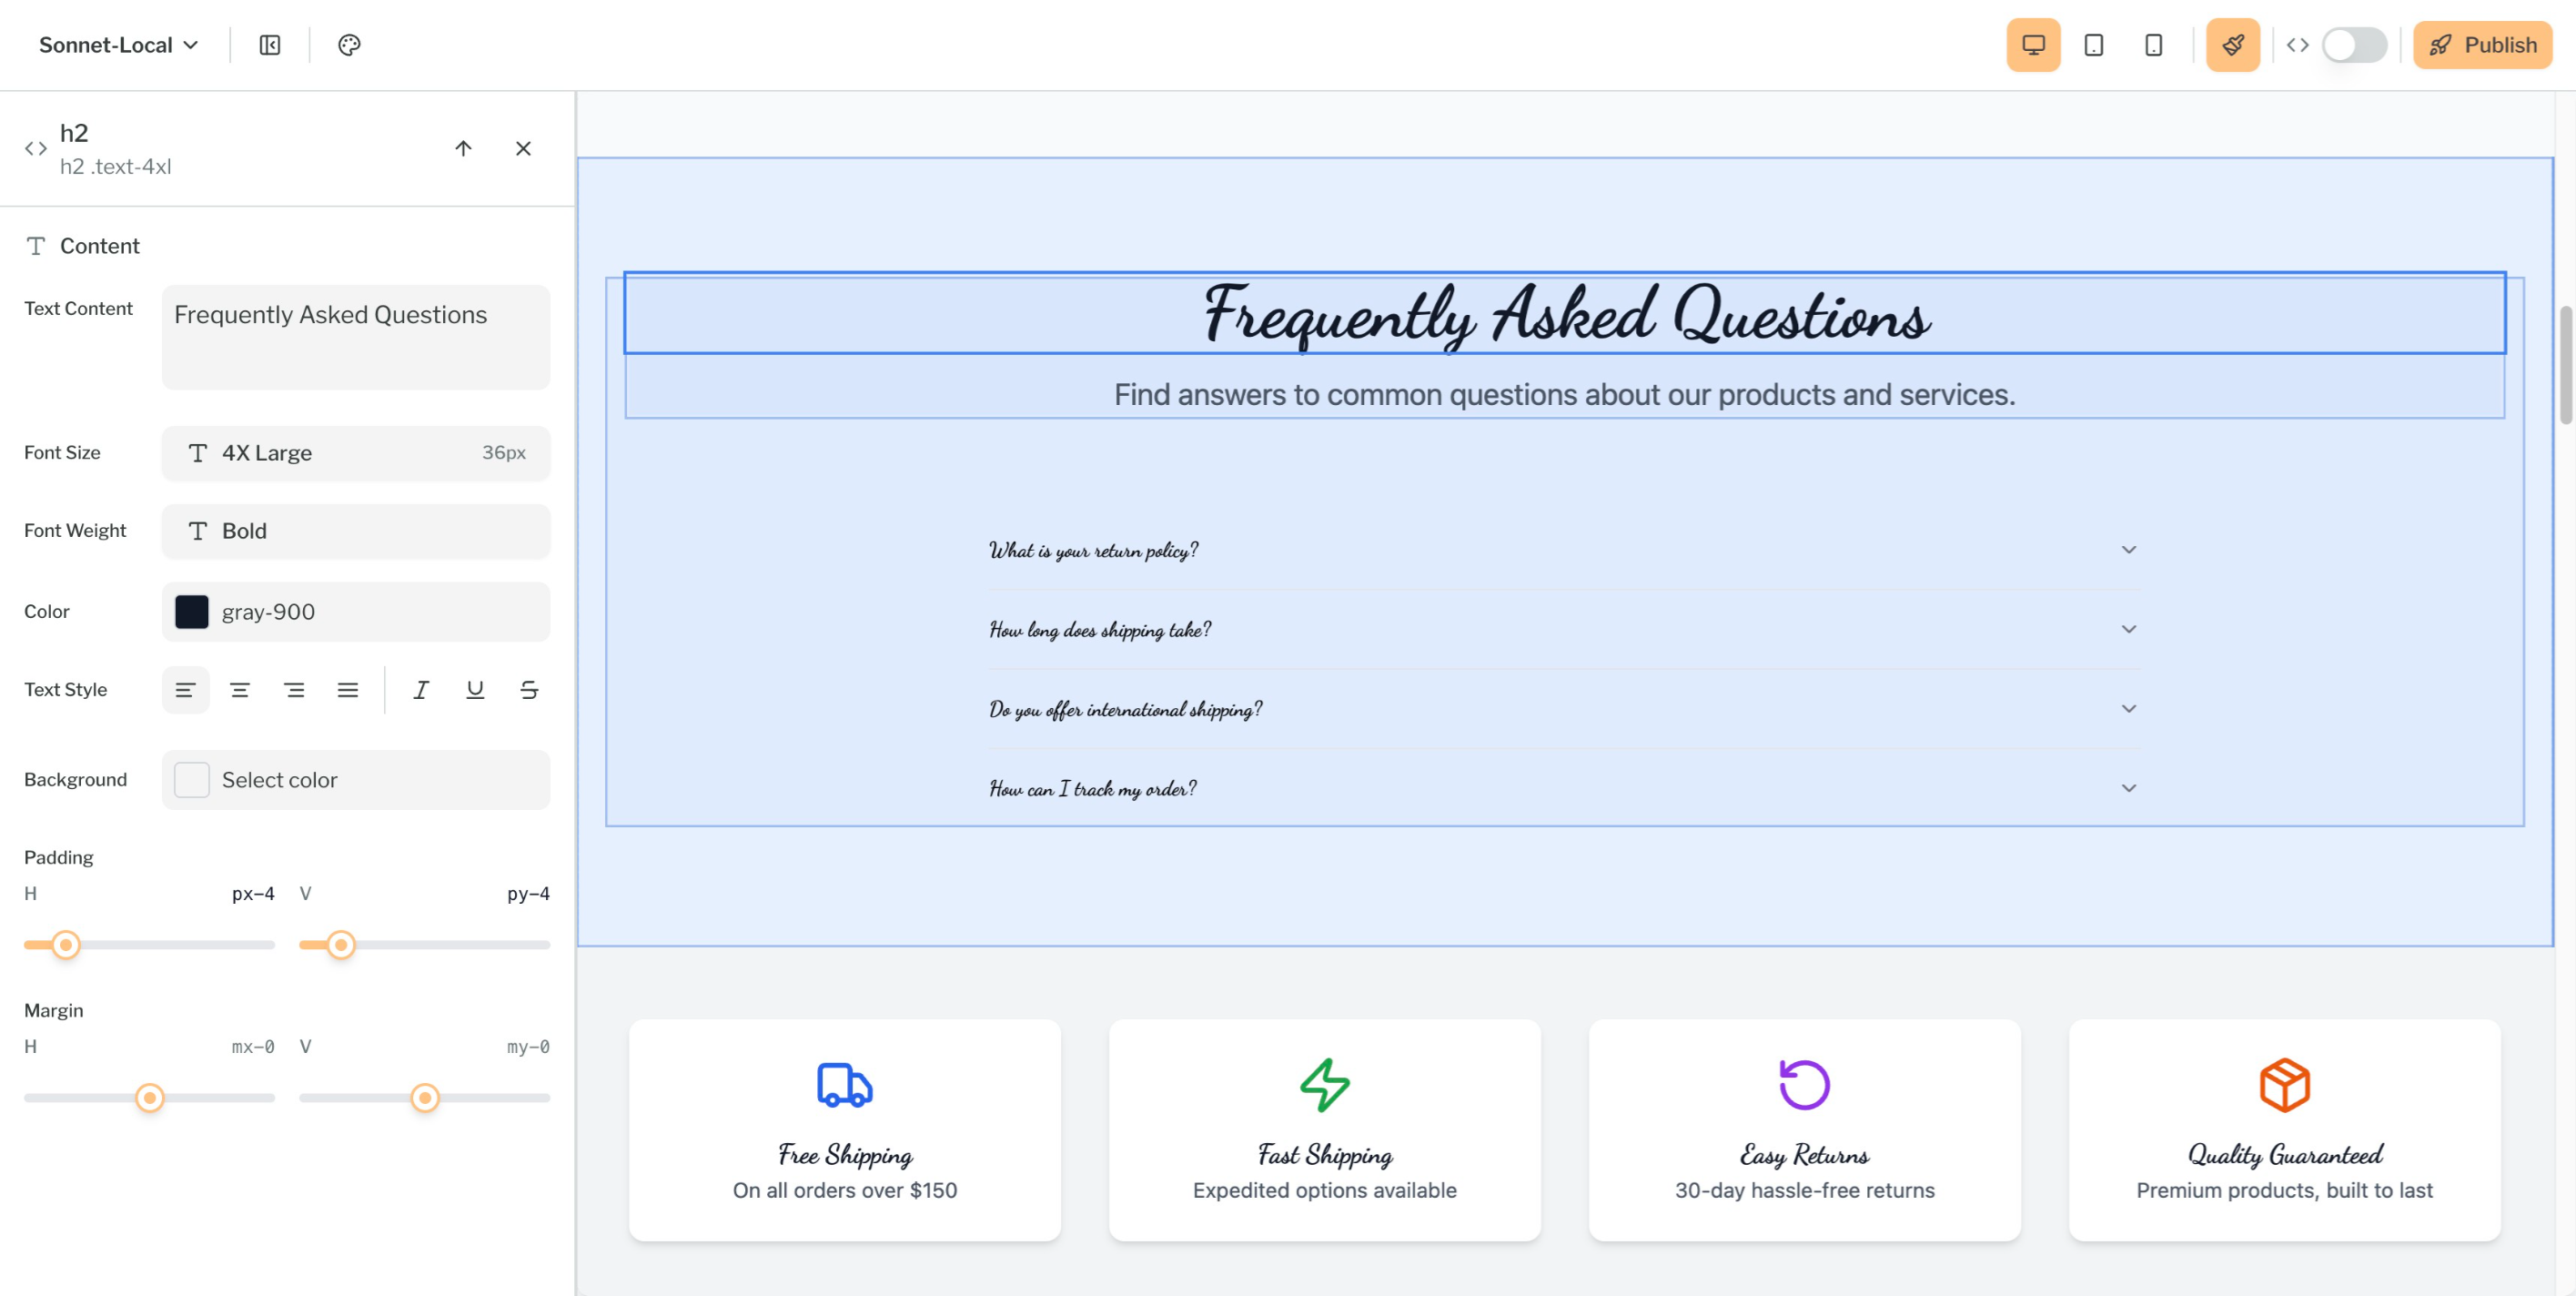
How It Works
Toggle the brush icon
Toggle the brush icon in the top right corner of the editor to enable Visual Editor mode.
Select an element
Click on any component in the preview window to select it.
Dynamic content will be highlighted in green, and static content will be highlighted in blue.
Open the editor panel
Once selected, the editing panel will appear on the left side showing all available customization options.
Styling Options
The Visual Editor gives you control over your store’s appearance:Spacing & Layout
- Padding: Add internal spacing to elements
- Margin: Control external spacing between elements
Typography
- Text Content: Edit text directly in the preview
- Font Weight: Make text lighter or bolder
- Text Style: Apply italic, underline, or strike-through
- Text Color: Choose from your brand colors or custom colors
- Text Alignment: Control how text aligns within its container
Backgrounds
- Background Color: Set solid color backgrounds
Image Replacement
Click on any image component to:- Replace it with a new image from your media library
- Upload a new image directly
- Adjust image settings and positioning
Dynamic Data
The Visual Editor allows you to control dynamic content in your store, such as product listings, collections, and more. Dynamic elements are highlighted in green when Visual Editor mode is active.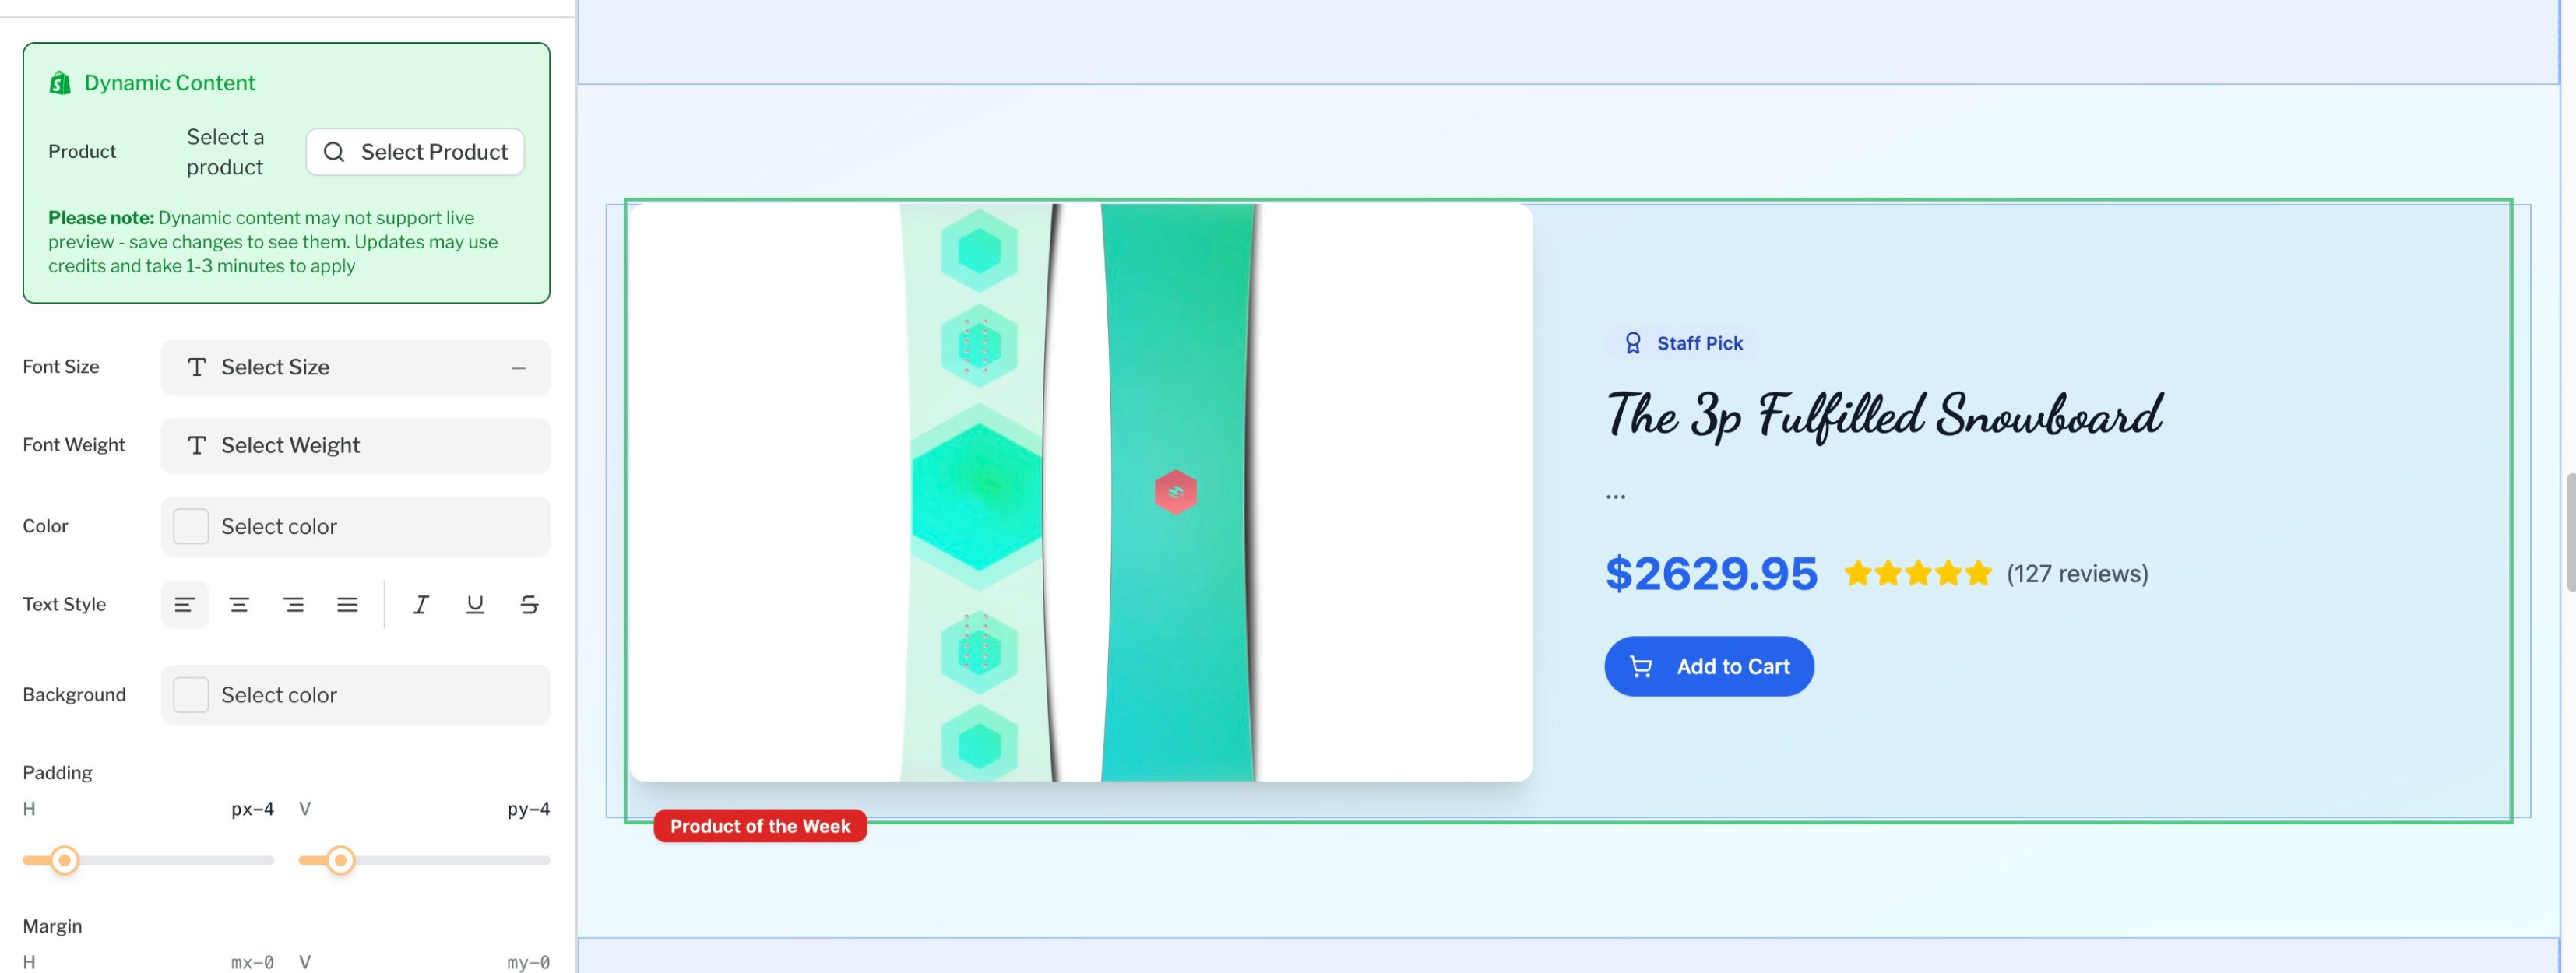
Collections
Configure which product collections are visible on your store:- Show or hide specific collections
Products
Control individual product display:- Choose which products to feature
Products by Collection
Fine-tune how products appear within collections:- Filter products by specific collections
- Control product sorting (price, name, date)